- Requires Token2Shell version 15.1.0 or higher
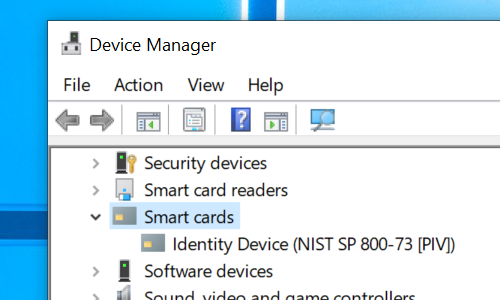
If you have a PIV smart card (ex. YubiKey 4/Neo), you can use it for the SSH public key user authentication in Token2Shell. You just need to plug it in and use it as any other private key.
Token2Shell stores all its essential settings (ex. address book entries, macros, private keys and etc.) in its Home folder. This Home folder can be changed to any folder including a virtual folder on cloud (ex. OneDrive) or a network shared folder. So the Home folder can be shared among co-workers and multiple computers. However, if PIV smart cards are used, a server can differentiate and track each user even when all users are using the same user ID and address book entries since each PIV smart card has a unique public key signature.
Preparing a PIV Smart Card or USB Key
Your PIV smart card must already be configured and ready to be used. Please use the tools provided by its manufacturer. For example, if you're using a YubiKey 4 or Neo, you can use their "YubiKey Manager". When configuring your YubiKey, make sure its PIV function is enabled. PIV is not the same as PGP/GPG; they are not compatible. YubiKey has a separate storage for its PIV function and you must first generate or import private keys before you can use it with Token2Shell. Please also note that if you're using an RSA key, it should be at least 2048 bits long (your SSH server might reject the key if it's shorter).
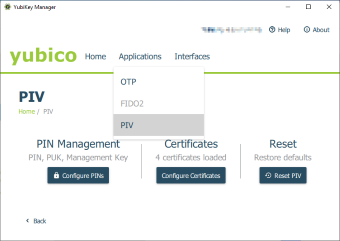
If you're using a hardware authentication device from a different company, again make sure it supports the PIV standard and you have enabled it correctly.
Creating an Address Book Entry
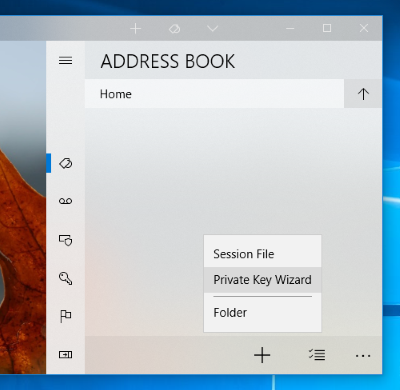
When creating an address book entry, just make sure the "publickey" is the first one selected for the user authentication methods. For quick and easy setup, we recommend using the Private Key Wizard.
A PIV smart card supports at least 4 private keys. Each key is used for different purposes, for example, "Card Authentication (9E)" key is commonly used for entering buildings or opening doors (hence it doesn't require entering a PIN).
You can access two of those keys, "PIV Authentication (9A)" and "Card Authentication (9E/PINLESS)", from Token2Shell for the SSH user authentication.
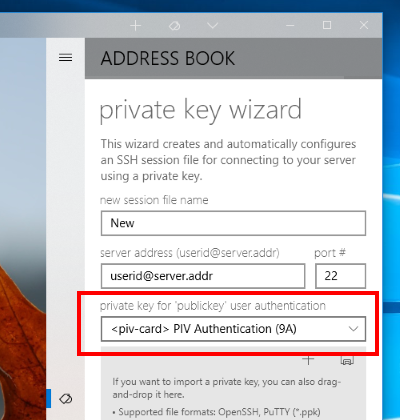
You can also select "<try-all>" for the private key option and have your PIV smart card accessed only when it's already plugged in; Token2Shell will not prompt you to insert your card when it's not detected.
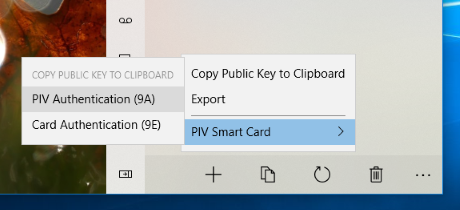
When "Copy OpenSSH public key to clipboard" option is selected, Token2Shell copies the public key for the currently selected PIV smart card key. If you have selected "<piv-card> PIV Authentication (9A)", you'll be prompted for a PIN.

You can send this public key text to your system administrator and have it added to your login account. If you're the administrator, make sure the public key is properly added. For example, if you're using an OpenSSH server, the public key needs to be added to "~/.ssh/authorized_keys" file.
After you have confirmed that the private key user authentication is working properly, you should disable the "password" and "keyboard-interactive" user authentications to increase the security of your server. If that's not possible you should at least change your password to a machine generated strong password.
SSH Agent Forwarding
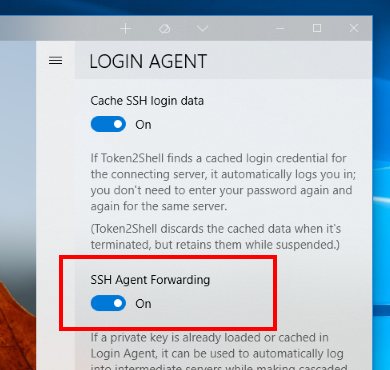
If you want to use your PIV smart card for SSH agent forwarding, you simply need to enable the "SSH Agent Forwarding" option in Login Agent and have your PIV smart card plugged in. Token2Shell automatically detects the card and forwards the information when it's necessary.
Copying a Public Key to Clipboard
When you need to copy a public key from your PIV smart card to clipboard in OpenSSH format, tap [ Top Menu ] » [ Tools ] » [ Private Keys ] » [ Copy ] » [ PIV Smart Card ].
