Token2Shell family of apps are developed and released for different platforms such as traditional Win32 desktop as well as UWP (Universal Windows Platform). Each app has its own unique UI and fully utilizes what the platform offers while sharing essential settings. The following describes installing and using Token2Shell app that's available on Microsoft Store.
STEP 1 Install Token2Shell
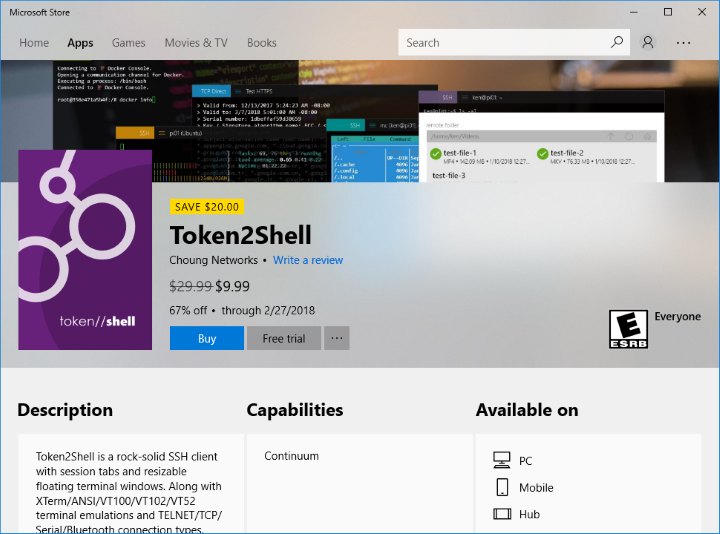
Token2Shell is readily available on Microsoft Store. Thus when you want to install Token2Shell, simply open the Store app and search for "Token2Shell".

You can also click the following link to directly open Token2Shell app page on Microsoft Store.

Once you opened Token2Shell app page from the Store app, click "Buy" or "Free trial" button and follow its instructions to install Token2Shell.
STEP 2 Start Token2Shell
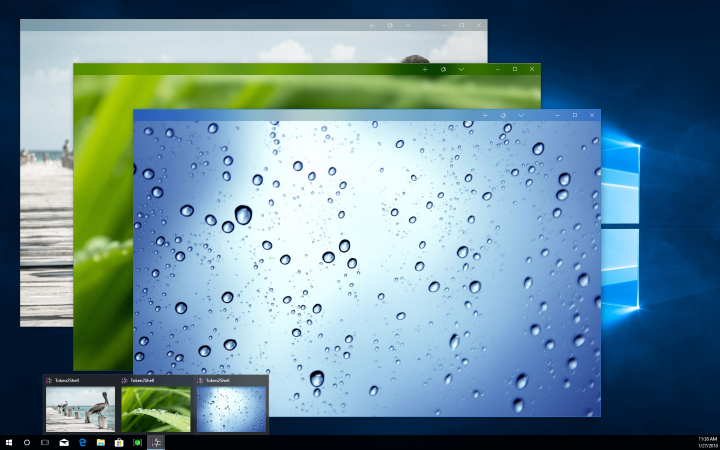
When you launch Token2Shell, it first shows its own "desktop" with a randomly selected background image. In order to make a connection to a server, you need to open a terminal window on this desktop.
Opening More Desktops
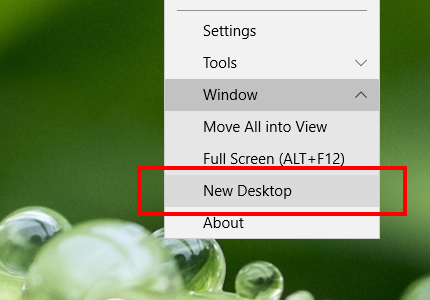
You can have multiple desktops of Token2Shell. In order to open a new desktop, you can use the following methods:
- Select [ Window ] » New Desktop menu from the top command bar
- Tap [ + ] button from the top command bar while holding a SHIFT key (this also opens a new terminal window from the newly created desktop)
- Drag-and-drop a terminal window outside of Token2Shell desktop
- Tap Token2Shell taskbar button while holding a SHIFT key

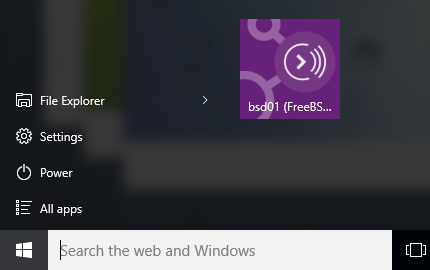
- Tap a pinned Token2Shell tile (address book entry or folder) from Start menu while holding a SHIFT key
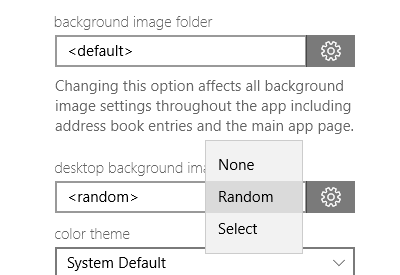
Changing Desktop Background
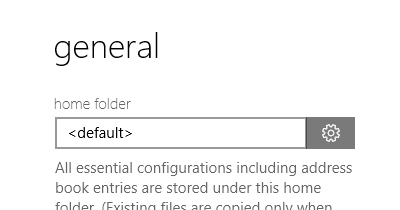
The options for changing the desktop background image are available under [ Settings ] » general.
STEP 3 Open a Terminal Window
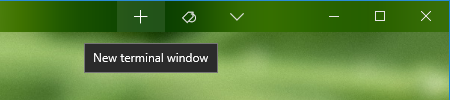
A terminal window can be opened in several ways:
- Tap [ + ] button from the top command bar (If you hold a SHIFT key while tapping or clicking this button, Token2Shell opens a new terminal window on a new desktop.)
- Press ALT+N
- Double-tap on the desktop
- Tap an entry from Address Book side-panel (ALT+A)

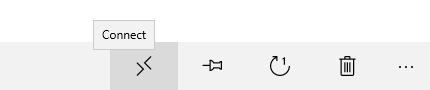
- Tap "Connect" button on the bottom command bar from Address Book management page.
Window Management
In order to move a window within Token2Shell desktop, simply use its title bar. When you drag the main text area of the title bar, you can freely move the window.

For a terminal window, dragging the accent colored header area initiates "drag-and-drop" mode. While in this drag-and-drop mode, you can drop the selected terminal window to another Token2Shell desktop. If you drop the selected terminal window just outside of its own desktop, a new desktop is created for the dropped window.

While dragging a window, you can swipe it outside of the desktop. In such situation, Token2Shell puts the selected window in "Auto Hide" mode. In this mode, Token2Shell automatically shows the window only when it has a keyboard input focus.
STEP 4 Connect to a Server
When you open a new terminal window, it first shows "Quick Connect (ALT+D)" popup. Quick Connect popup can be used to create a connection without creating an Address Book entry.
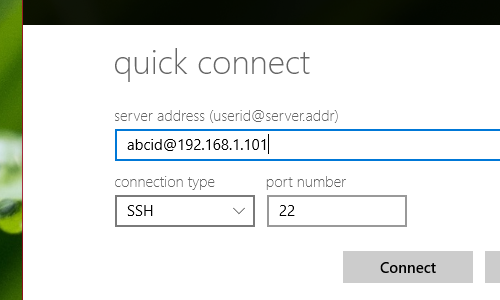
For the server address text-box on Quick Connect popup, you can also enter a URL-style server address path. It overrides currently selected options such as "protocol" and/or "port number". For example, if you want to make an SSH connection to a server "192.168.1.101" at port number "999" using an user ID "abcid", you can enter "ssh://abcid@192.168.1.101:999".
Home Folder
Token2Shell stores all its essential settings such as address book entries, RSA/DSA private keys and keyboard mappings to a Home folder ([ Settings ] » general » home folder). This Home folder is set to a private data folder when you first install Token2Shell. However, you can freely change it to more accessible folder of your choosing (ex. Documents folder) and easily backup, restore and share the settings just by managing that folder.
Address Book
Token2Shell includes Address Book for managing servers. Each server entry can have its own connection settings including Auto Login and Startup Macro. You can also assign different screen settings such as font and default text color.
For quick access to Address Book entries, you can use the Address Book side-panel.
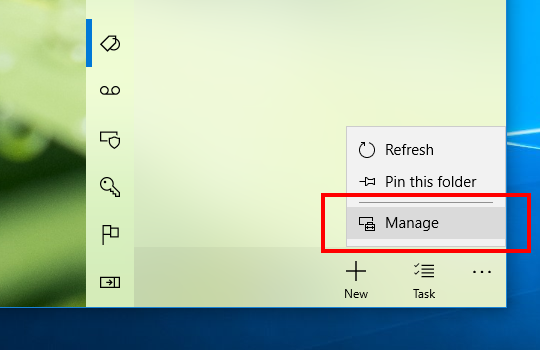
When you want to move Address Book entries to a new folder or mange them in full window, tap the "Manage" menu from Address Book side-panel.
Login Agent
When Login Agent is enabled you don't need to enter your password repeatedly to log into the same server. Login Agent automatically caches login credentials and discards them when Token2Shell is closed.

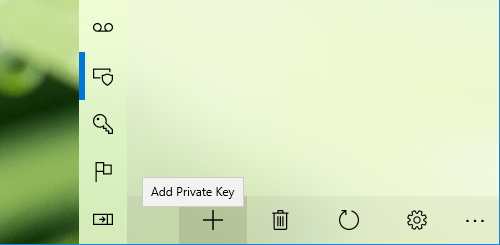
A private key is also cached once it's used for logging into a server. If you want to pre-load a private key, use [ + (Add Private Key) ] button on Login Agent side-panel.
Agent Forwarding is also supported for SSH connections with Public-key user authentication.
We always try to design features in our apps as intuitive and straightforward as possible. However, if you're having any problem using or finding features in Token2Shell, please don't hesitate to contact us. We are here to help you!