Token2Shell supports Bluetooth/RFCOMM connections. This feature can be handy when you're developing or debugging a custom Bluetooth service for IoT devices. The following demonstrates such possibilities with Windows IoT.
For this demo, we'll be using Windows IoT on Raspberry Pi 2 (with a Bluetooth USB dongle). We assume you're already familiar with Windows IoT and its usage. For additional information, please visit the following websites:
Installing and running Windows IoT
Accessing Windows IoT
- Windows Device Portal
https://developer.microsoft.com/en-us/windows/iot/win10/tools/deviceportal - Remote Display Experience
https://developer.microsoft.com/en-us/windows/iot/win10/remotedisplay - Windows IoT Remote Client App
https://www.microsoft.com/store/apps/windows-iot-remote-client/9nblggh5mnxz
For a custom Bluetooth service running on Windows IoT, we'll be using the following example app from the official Universal Windows Platform (UWP) code samples.
- Bluetooth RFCOMM chat sample (BluetoothRfcommChat)
Windows 10 1511 Release - June 2016 Update
Let's Start!
STEP 1 Install and run a custom Bluetooth service on Windows IoT device
On your PC where Visual Studio is installed and ready to build UWP apps, download the code samples mentioned above and locate the BluetoothRfcommChat project.
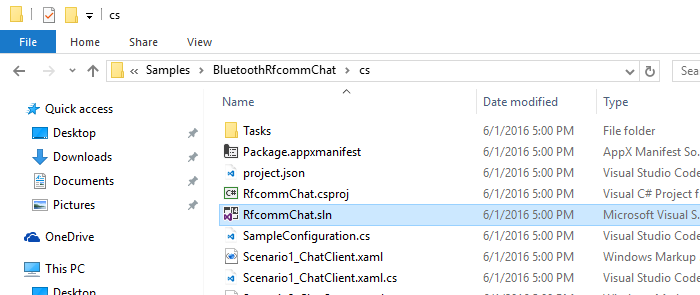
Once you have opened the project from Visual Studio, build and deploy it to Windows IoT. For additional information about deploying an app to Windows IoT:
While the app is running, start the "Foreground Chat Server".

Once BluetoothRfcommChat is deployed to Windows IoT, you don't need to use Visual Studio for starting the app. You can use the 'Apps (App Manager)' menu in Windows Device Portal.
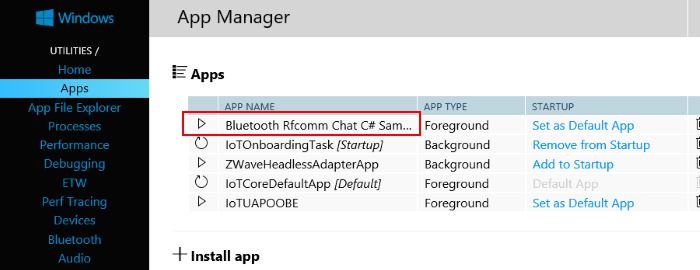
STEP 2 Pair PC with Windows IoT Device
In order for Token2Shell to connect to your custom Bluetooth service on Windows IoT device, you first need to pair it with the PC where Token2Shell runs on.
This Bluetooth paring must be done while your custom service is running. Thus if this is the first time running your custom service, you must remove any existing pairing record between the two devices and do the pairing again. Once the pairing is finished, your custom service only need to be active when you want to connect to the service from the paired PC.
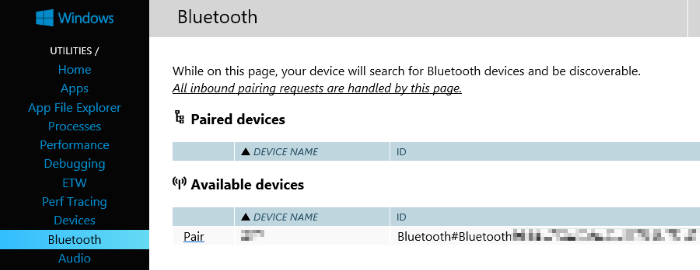
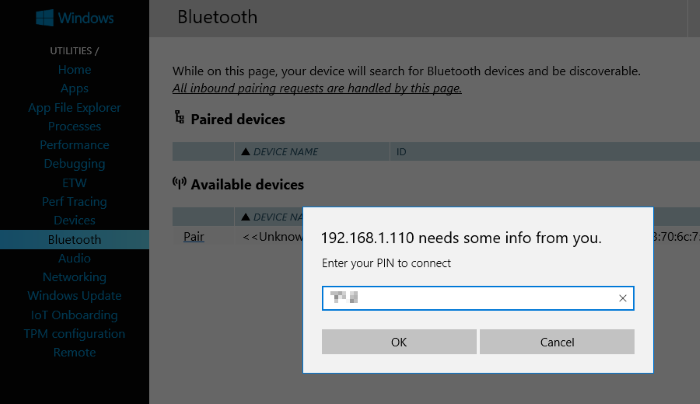
From PC, open Windows Device Portal for your IoT device from a web browser and go to its Bluetooth page. Opening the Bluetooth page ensures the PC to discover your IoT device.
Again from PC, open [ Settings ] » [ Devices ] » [ Bluetooth ]. This page should list your IoT device.
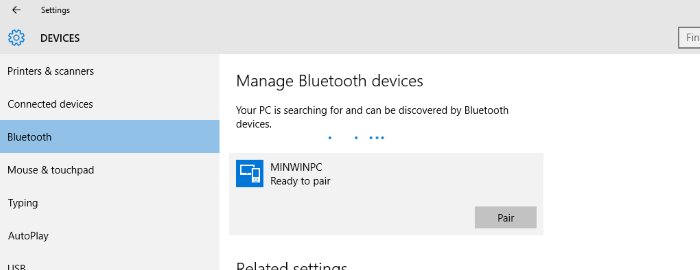
Initiate the pairing from the PC.
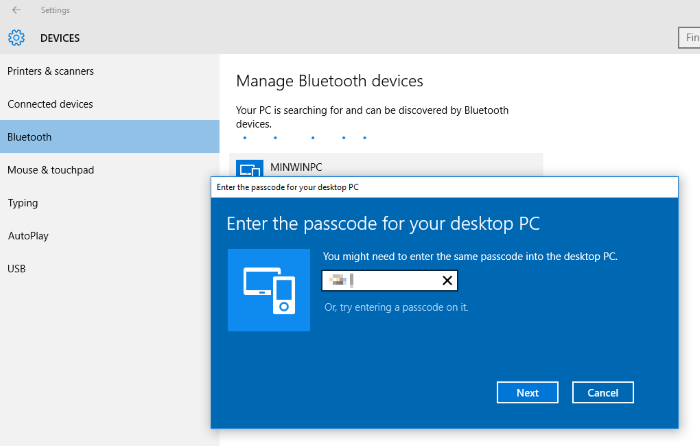
You should then see a popup window on the [ Windows Device Portal ] » [ Bluetooth ] page where you can enter the passcode you set when you initiated the pairing from the PC.
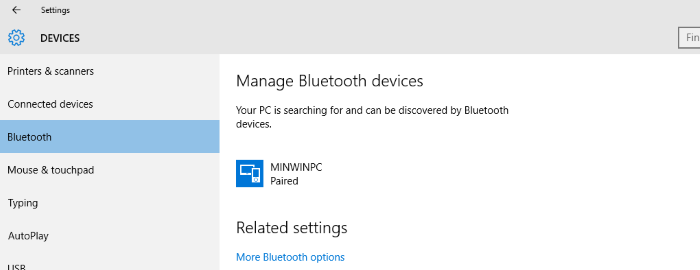
Bluetooth pairing should now be successfully completed.
STEP 3 Connect from Token2Shell
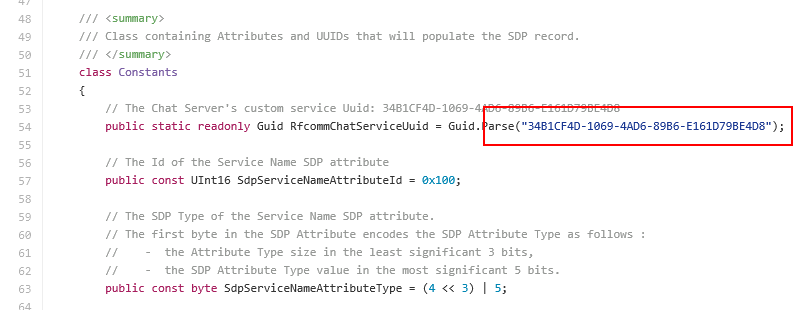
For connecting to your custom Bluetooth service, you need to use its UUID as a 'service ID'. The UUID for BluetoothRfcommChat is '34B1CF4D-1069-4AD6-89B6-E161D79BE4D8' (found in '../cs/SampleConfiguration.cs' source code file).
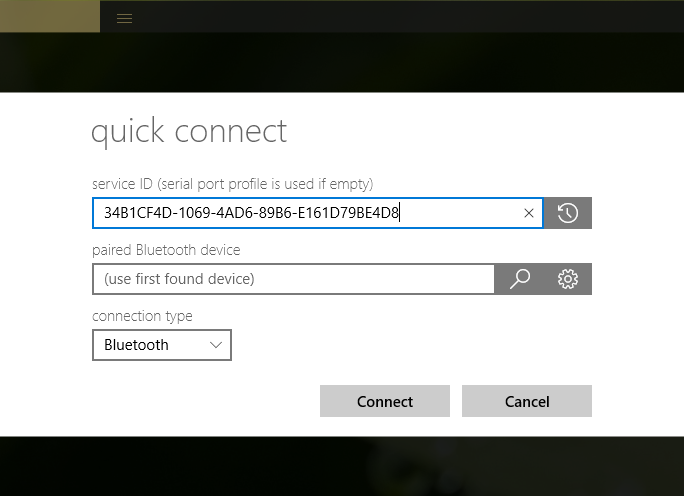
Once you enter the UUID, you should be able to select the Windows IoT device paired from the previous steps.
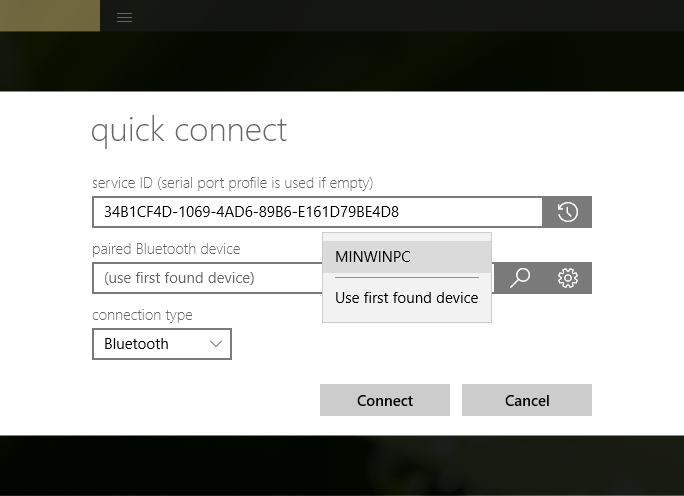
Now tap 'Connect'! When Token2Shell successfully starts a Bluetooth session, it first displays the Bluetooth SDP (Service Discovery Protocol) attributes for the selected device in hexadecimal format.
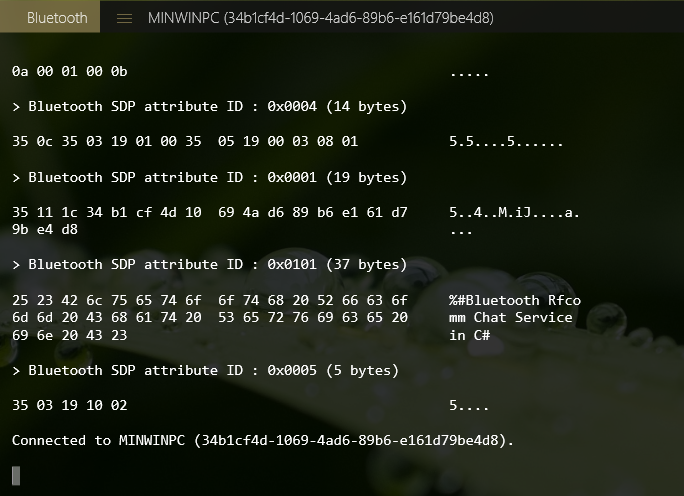
You can now send text from the server. Try sending "HelloPC".


Before sending text back to the server, let's check the received data in more detail. For such purpose, you can use the "Hex Mode". When Hex Mode is enabled, all received data are displayed in hexadecimal format.
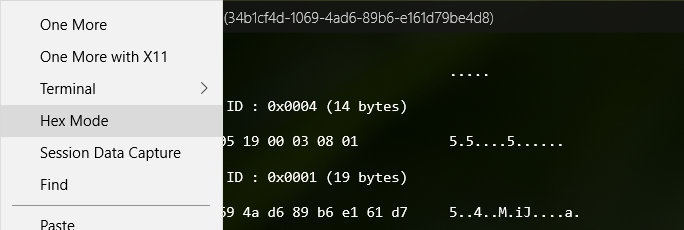
After enabling the Hex Mode, send "HelloPC" from the server again. You'll notice the additional data actually received from the server.

In BluetoothRfcommChat, text data are exchanged in the following format:
Length (4 bytes) + Actual Text Data (Multi Bytes)
Hence, for sending text data from Token2Shell to the server, you must use the same format. Otherwise, the server will crash or hang.
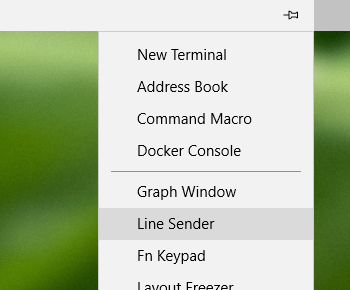
In Token2Shell, you can accomplish this by creating a macro file or via its Line Sender (ALT+C). The following makes use of the Line Sender.
In order to send actual data bytes, you need to enable 'Interpret '\' as Escape Sequence Starter'.
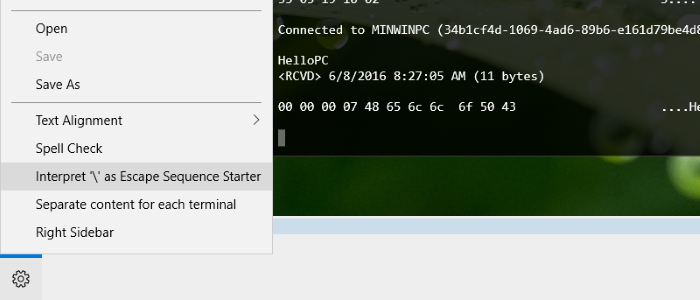
Once enabled, "\x{HEX}" will be converted to an actual byte. For example, if you want to send 'HelloIoT', it needs to be in the following format:

The text data length is calculated as 9 (= 0x09); 8 ("HelloIoT") + 1 (for the CR control character that is automatically added by Line Sender for pressing the ENTER key). Please note that if you configured Token2Shell to send CR+LF for ENTER, you need to adjust the length accordingly.
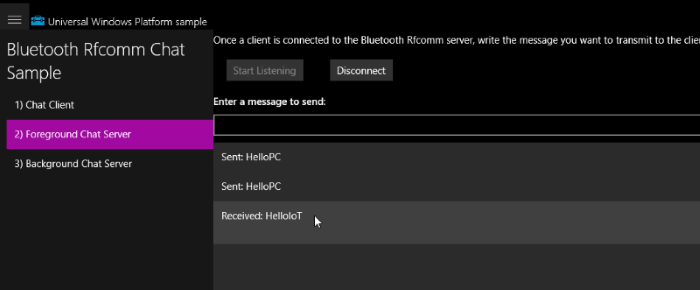
If you just want to send the text data without automatically appending CR or CR+LF, you can use the selection mode. In this mode, Line Sender only sends the selected text when you press the ENTER key.

Please note that the length is changed from \x09 to \x08.
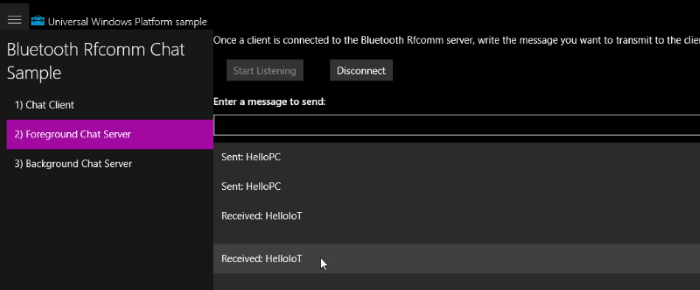
Here we briefly demonstrated how Token2Shell can help developing or debugging a custom Bluetooth service. For questions or feedback, please don't hesitate to contact us!

