Using WSL from Token2Shell or Any Terminal Emulator via OpenSSH Server
- Windows 10 April 2018 Update (1803) and
Ubuntu 18.04 were used while preparing this post
WSL can only be used from its dedicated console window; you cannot use other terminal emulators such as Token2Shell for interactively using its Bash shell.
The following describes setting up an OpenSSH server on Ubuntu 18.04 but overall procedure should also be the same for other Linux distributions. Once you have finished setting it up, you can connect to WSL by connecting to the OpenSSH server.
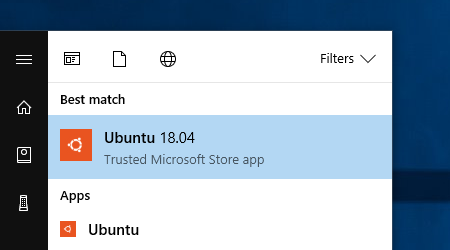
STEP 1 Start Ubuntu 18.04
STEP 2 Generate OpenSSH server host keys
Ubuntu 18.04 already includes an OpenSSH server executable (/usr/sbin/sshd). However, you need to generate its host keys before you can run the server. For generating new host keys, use the following command:
sudo dpkg-reconfigure openssh-server
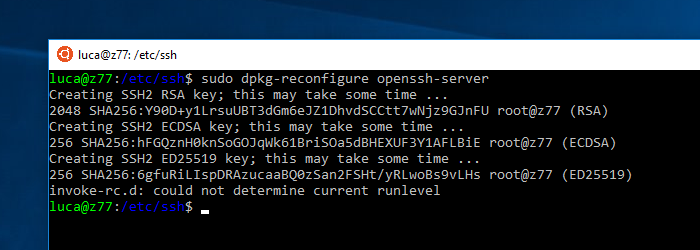
Host keys are used for identifying the server to the connected client and setting up a secure encrypted connection between the two. OpenSSH supports and prepares various types of host keys (RSA, ECDSA and etc.) but only one will be selected and used for the connection according to the client's preference.
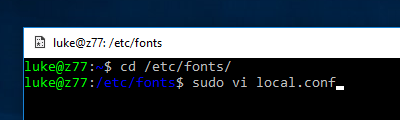
STEP 3 Edit /etc/ssh/sshd_config
When an OpenSSH server starts, it reads '/etc/ssh/sshd_config' file and configures its settings. In recent versions of WSL, you can run an OpenSSH server without changing this file. However, if you're interested in adjusting the settings, the following shows our recommendations:
| From | To |
|---|---|
| Port 22 | Port 2222 |
| 22 is the default port number for SSH servers. However, if you already have another SSH server running and want to avoid any conflict, change this setting to any number from 1 to 65535 (https://en.wikipedia.org/wiki/Port_(computer_networking)). | |
| #ListenAddress 0.0.0.0 | ListenAddress 127.0.0.1 |
|
The default setting allows any incoming connection. Changing this setting to "127.0.0.1" only accepts connections targeted for "127.0.0.1".
An OpenSSH server running on WSL cannot be connected from other devices even if you configure it to accept any connection (such usage is never intended for WSL). But we can still improve the security of the server by limiting incoming connections. | |
| PasswordAuthentication no | PasswordAuthentication yes |
| Only the public key (publickey) user authentication is enabled in default settings. If you change this setting to "yes", you can connect to WSL using the "password" user authentication; the server will ask you for your WSL password. | |
STEP 4 Start OpenSSH server
Once you’ve finished changing the sshd_config file, start the server:
sudo service ssh start
STEP 5 Connect from Token2Shell
Token2Shell is classified as a Desktop Bridge app as it includes and makes use of Win32 helper executables. However, the core app is based on UWP. Hence it still has limitations as other UWP apps. One of those limitations is accessing the loopback network interface.
In order override this limitation, you must explicitly add Token2Shell to the Windows loopback network exempted list. If Token2Shell is not added, you cannot connect to any server running on WSL. Please execute the following command from Windows Command Prompt and add Token2Shell to the list:
CheckNetIsolation LoopbackExempt -a -n="ChoungNetworksUS.68307A65C913_vvzc8y2tzcnsr"
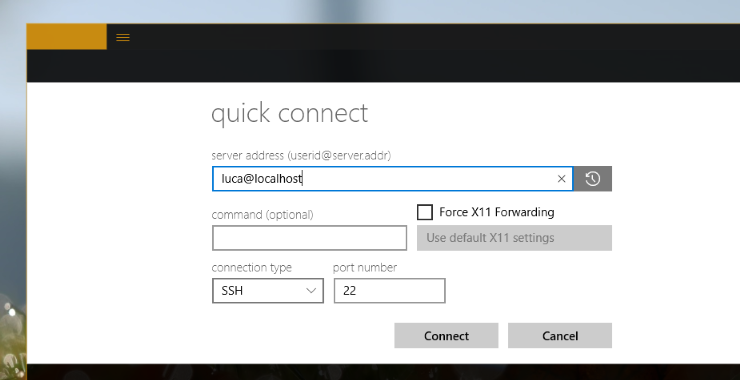
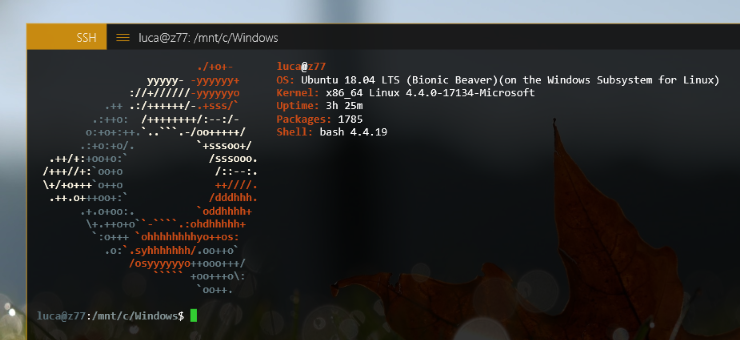
You can now connect to WSL from Token2Shell. You just need to open a new terminal window and connect to "127.0.0.1" or "localhost" at the port number 22 (or the port number you set in Step 3) in SSH using the user ID and the password you've already setup for WSL.
For example, the following shows a "Quick Connect" popup window when your user ID for WSL is "luca":
Token2Shell has "Login Agent" feature that can remember the password you used for an SSH login. So once you logged into WSL and entered your password, you don't have to enter it again for additional terminal windows.
If you want to skip the password entering step all together, you can create an address book entry for your WSL. Token2Shell supports the public key user authentication as well as storing your password for auto login.
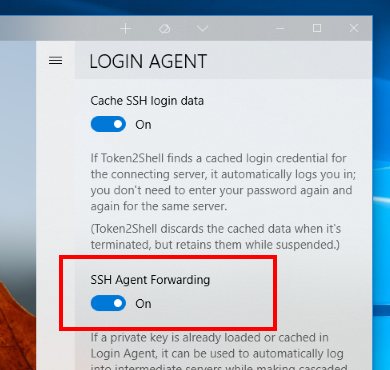
If you're using SSH Agent Forwarding for automatic user authentication with private keys, you don't have to setup anything on WSL. You simply need to import your private keys to Token2Shell and enable its [ Login Agent ] » [ Settings ] » "SSH Agent Forwarding" option before connecting to WSL.
Creating a Shortcut for Launching the OpenSSH Server
WSL currently doesn't support automatically launching server programs (or daemons). Hence our OpenSSH server must be started manually but the current version of WSL now does allow having servers running in background even when all Linux terminal windows are closed.
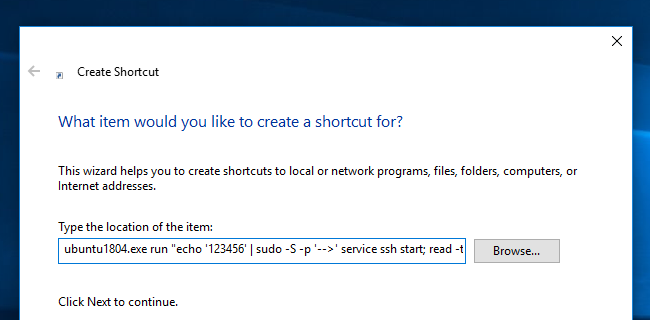
So we can create a Windows shortcut that launches our OpenSSH server. The 'Target' for the shortcut can be set as the following:
ubuntu1804.exe run "echo '<your-wsl-account-password>' | sudo -S -p '-->' service ssh start; read -t 3 -p 'Press ENTER or wait for 3 seconds.'"
Please change the "<your-wsl-account-password>" to your password for WSL. For example, if your password is '123456', your shortcut should be:
ubuntu1804.exe run "echo '123456' | sudo -S -p '-->' service ssh start; read -t 3 -p 'Press ENTER or wait for 3 seconds.'"
Please note that in order to start an OpenSSH server, you need to use the 'sudo' command in Ubuntu. In our shortcut, we're using the 'echo' command with 'sudo -S' in order to feed your password to the 'sudo' command. If you're using the same password as Windows login, we highly recommend changing it. WSL manages its own separate accounts from Windows, so you should set a different password (perhaps a simpler one) only for WSL.
There are other ways to start the server. But as far as we know they all focus on permanently removing the password for the 'sudo' command and require editing a system configuration file on Linux (ex. editing the '/etc/sudoers' file with 'visudo' command). Our approach of using the 'sudo -S' is much simpler and should provide more flexibility since it can also be used for other servers without changing any system file on Linux.
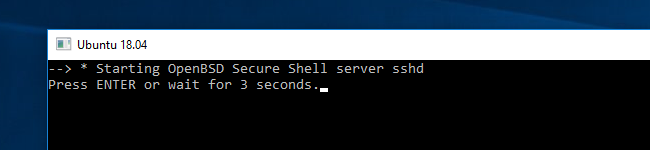
In the above command line, we've also added "-p '-->'" and "read -t 3 ..." to help you check the status of the OpenSSH server after it's started. If you just need a bare minimum command for launching the server, you can safely remove them.
ubuntu1804.exe run "echo '<your-wsl-account-password>' | sudo -S service ssh start"